


The "Claw" vs. The "Relaxed": How to Photograph Your Wrist for Instagram
by Praijing Jewelry on Jan 02, 2026

The "Claw" vs. The "Relaxed": How to Photograph Your Wrist for Instagram
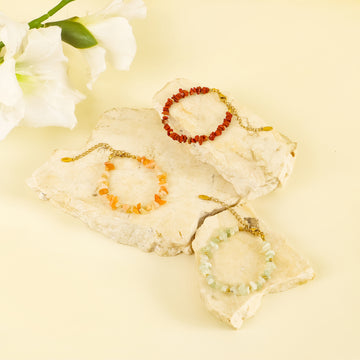
You just bought a stunning new Praijing bracelet. The silver is shining, the stone is glowing, and you want to show it off on your Instagram Story.
You point your phone at your wrist. You snap the photo. You look at it.
It looks terrible.
Your fingers are spread out weirdly. Your veins are popping. Your hand looks stiff, awkward, and tense.
Welcome to "The Claw."
It is the most common mistake people make when photographing jewelry. We are so focused on the bracelet that we forget to relax our hand, resulting in a photo that looks more like a chicken foot than a style statement.
Want to take photos that look like they belong in a magazine? Here is how to kill "The Claw" and master the art of the "Relaxed Wrist."
1. The Mistake: The "Floating Hand"
The reason "The Claw" happens is that you are holding your hand in mid-air with nothing to do. When your hand floats, your muscles instinctively tense up to keep it steady.
The Fix: Give Your Hand a Job.
Never let your hand float. Give it something to hold or touch.
-
The "Coffee Grip": Hold a mug or a takeaway coffee cup. This forces your fingers to curve naturally around an object.
-
The "Pocket Tuck": Hook your thumb into your jeans pocket. It looks casual and effortless.
-
The "Sunglasses": Hold a pair of sunglasses. It adds a cool prop and relaxes your grip.
2. The Angle: Don't Shoot Flat
Most people hold their arm out flat and shoot directly from above (Bird’s Eye View).
Unless you have perfect lighting, this makes your arm look like a piece of wood. It flattens the depth of the jewelry.
The Fix: Shoot Across the Body.
-
Bend your arm across your chest or stomach.
-
Tilt your phone slightly.
-
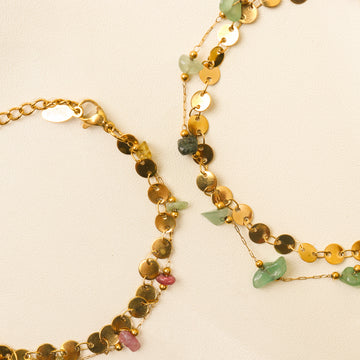
This angle captures the side profile of the beads and the depth of the silver wirework, showing off the 3D texture of the Praijing design.
3. Lighting: Window vs. Flash
Never use your phone’s flash to photograph silver or stone.
-
Flash: Creates harsh white reflections on the silver that blind the camera. It makes natural stones look like plastic.
-
Direct Sun: Can be too harsh and create deep, ugly shadows.
The Fix: The "Cloudy" Glow.
The best light is indirect natural light.
Stand near a window, but not directly in the sunbeams. Or, go outside on a cloudy day. This soft, diffused light will make the silver gleam without glaring, and it will show the true, deep color of stones like Lapis Lazuli or Garnet.
4. The "Sleeve" Frame
A bare arm can sometimes look "naked" or boring in a close-up shot.
The Fix: Use Your Shirt.
Pull your sleeve down so it ends just above the bracelet.
Whether it’s a crisp white dress shirt, a denim jacket, or a textured linen button-up, the fabric acts as a "Frame" for the jewelry.
-
Bonus: The contrast between soft fabric and hard silver/stone makes the jewelry pop even more.
Conclusion
The secret to a great wrist check isn't a better camera. It’s relaxation.
Stop tensing your fingers. Grab a coffee, find a window, lean back, and snap the shot. If it feels natural, it will look natural.
